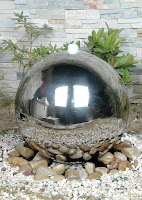
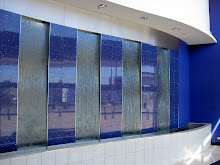
Also if your garden is open to high winds positioning your water feature in a location that is protected/sheltered from the wind is a good idea. As it will ensure that the water falls correctly
Assembling Your Water Feature
If your water feature comes complete with LED lights you will now need to connect the cable from the lights to the socket which splits off from the pump, you do this by pushing the male into the female and twisting the threaded collar. Note: This insures that the two don’t come lose and makes water resistant.
If you have a separate Sump/Reservoir place your water feature on top. Note: Line up the lid with the Sump/Reservoir allowing the cable to sit neatly in-between.
Now place your water feature onto a level surface. Note: This allows the water to flow evenly.
Your water feature is now ready to be filled with water. Note: Ensure that the pump is fully submerged.
Finally connect to the mains supply. Note: When connecting to a mains supply the pug should be indoors or in a suitable weatherproof outdoor socket.
Taking Care of Your Water Feature
Clean on a regular basis. Note: Always turn off the power when cleaning your water feature.
We recommend using ‘Sparkle’ to reduce the build up of dirt/algae. Which can be ordered at Outdoor Living UK or alternatively call 01733 390039. Note: This product is environmentally friendly.
For dry water marks we recommend polishing with baby oil.
We also recommend periodically putting a sterilizing tablet into the water feature to prevent bacteria. Which can be ordered by calling our friendly sales team on 01733 390039.
Regularly check the water levels of your water feature. Note: During hot and also windy spells the water will evaporate/be blown from your water feature and may need topping occasionally. Never allow to run dry.
To maintain your water feature throughout the winter, we recommend completely draining your water feature and covering over with a protective cover until you wish to use again. Note: Never allow ice to form in the Sump/Reservoir.


